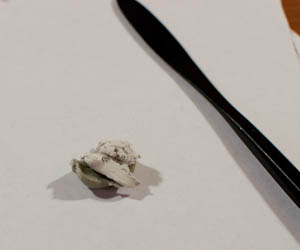
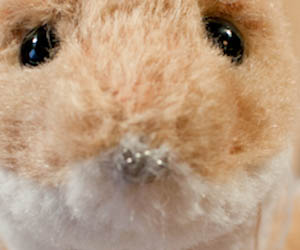
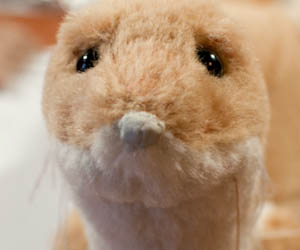
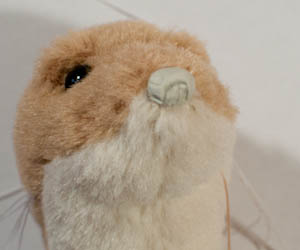
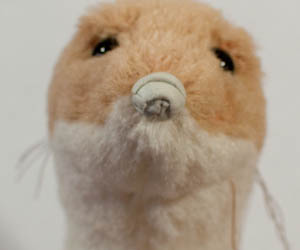
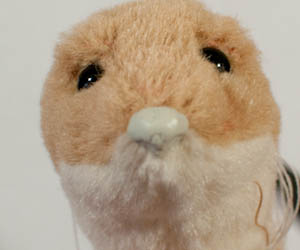
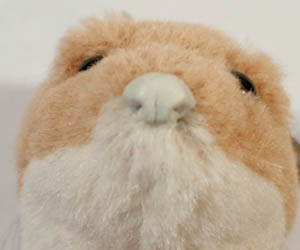
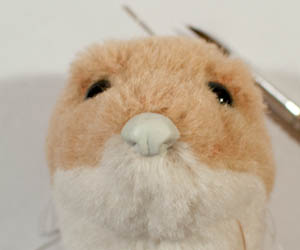
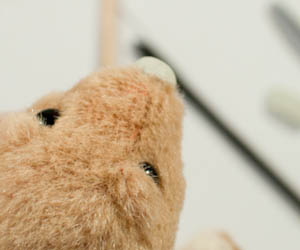
I’ll show you how I sculpt the nose for the ermine.
Materials Frequency:
head ermine (or bear, or… you know :))
thin wire (you can take one of multifilamentary wire)
needle
two-component resin (eg, EpoxySculp)
Stacks or thin sticks for sculpting.
Getting Started…
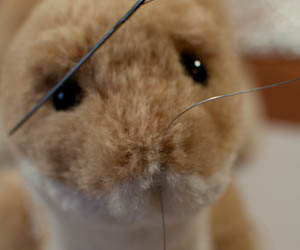
In place of future nose I cut out a pile and embroider a few stitches of thread. Direction of stitches arbitrarily.

I take a thin wire and fill in the eye of the needle
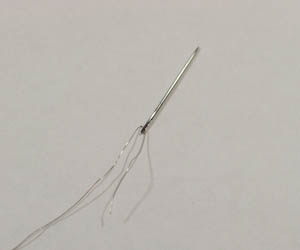
I’m doing embroidery wire, trying not to drag away the stitches much create loops over the fabric. This is fitting, for which will be held resin.
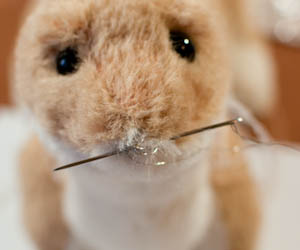
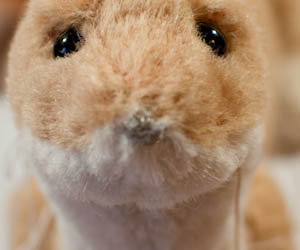
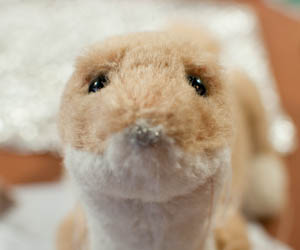
Then I take a two-component resin (EpoxySculp) and mix it, as it says in the manual (1-1).It can stick to hands, if it is fresh. You can wait for 5-10 minutes. For the nose ermine enough mass the size of a pea each of the components.
I start to sculpt the nose. First, create the basis for the nose: I scored all the space between the armature, meshing pitch for stitches of thread and wire.
I then sculpt the line nostrils and the upper line of the nose.
I add a small amount of pieces and smoothes epoxy
Then I check the mirror (and if not – these no need it… just look at your face :))
Setting time of epoxy is about 4 hours. Then you can start coloring the nose.
Enjoy the process! 🙂


